Everyone’s tried making chapatis at home. You roll them out, cook them on the tawa, and they come out hard as a rock. Or worse - they puff up like balloons and then deflate into rubbery discs. You’re not alone. So many people think it’s about the flour, the water, or even the heat. But the real secret? It’s not one thing. It’s a chain of small, simple choices that add up. And once you get them right, your chapatis will be soft, pillowy, and stay that way for hours.
It Starts with the Flour
You can’t make soft chapatis with just any flour. You need atta - whole wheat flour that’s finely ground. Not the coarse stuff from the supermarket aisle labeled "whole wheat." Real atta has a specific texture: fine, almost silky, with no grit. It’s made from hard red wheat, milled to retain the bran and germ, but ground fine enough to hold together without becoming gummy. Brands like Aashirvaad or Fortune atta work well. If you can’t find atta, look for "chapati flour" or "Indian whole wheat flour." Avoid "whole grain flour" meant for bread - it’s too coarse and will make your rotis dense.
The flour should be fresh. Old atta loses moisture and absorbs water differently. If your flour has been sitting for over six months, it’s time to replace it. Stale flour = stiff dough = hard chapatis.
Water Temperature Matters More Than You Think
Most recipes say "use warm water." But what does that even mean? Warm water isn’t just lukewarm. It’s hot - around 50°C (122°F). That’s the temperature you’d use to wash your hands after a long day. Why? Hot water starts to gelatinize the starch in the flour right away. That gelatinization is the key to softness. It creates a network that traps steam later, when the chapati cooks.
Try this: make two batches. One with cold water, one with hot. Roll them out the same way. Cook them side by side. The one made with hot water will puff up faster, feel springier, and stay soft longer. The cold water one? It’ll be tougher, drier, and crack when you fold it.
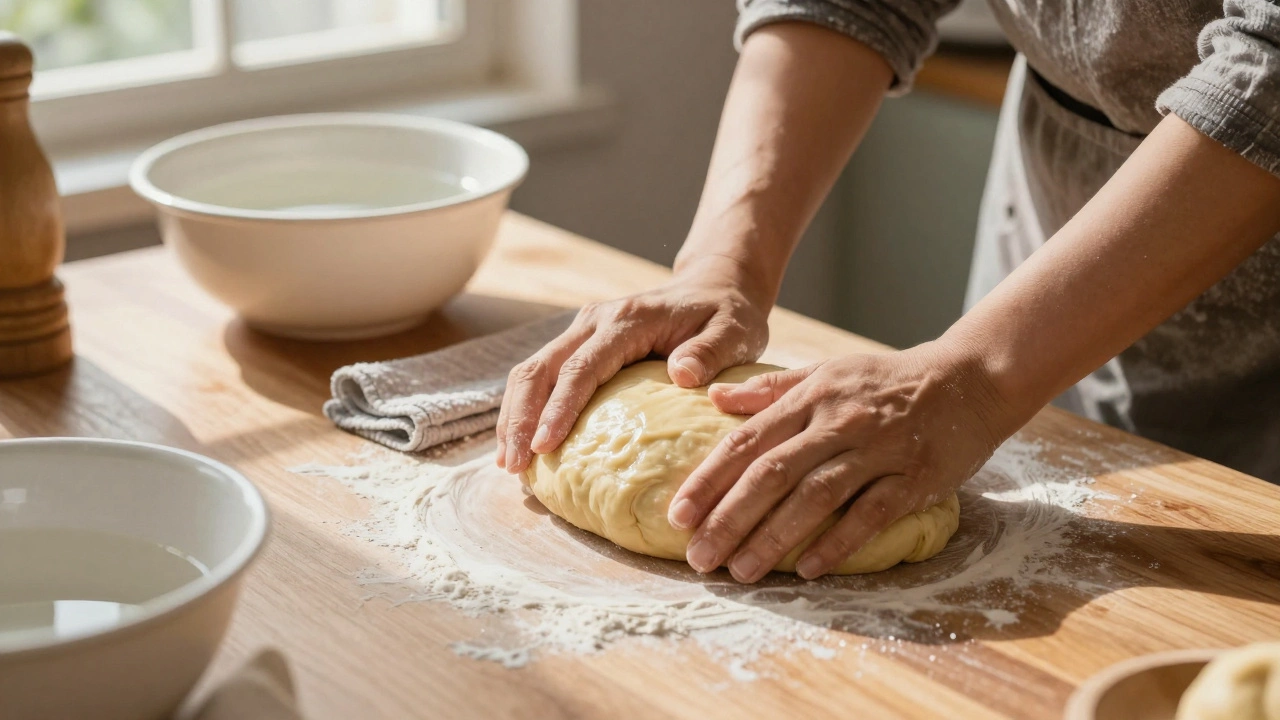
Knead Like You Mean It
Don’t just mix the flour and water. Knead it. For at least 8-10 minutes. Not a quick 2-minute stir. You need to develop the gluten, but not too much. You want just enough structure to hold shape, but not so much that it becomes chewy. The dough should feel like your earlobe - soft, pliable, slightly sticky, but not wet.
Here’s a trick: after kneading, cover the dough with a damp cloth and let it rest for 30 minutes. This isn’t just resting. It’s hydration. The flour absorbs every last drop of water. The gluten relaxes. The starches settle. If you skip this, your chapatis will tear when you roll them, and they’ll be unevenly cooked.
Rolling Technique: Thin But Not Too Thin
Roll your chapatis to about 6-7 inches wide. Not too thick - that’s a brick. Not too thin - that’s a crispy cracker. The sweet spot? Thin enough to see the faint shadow of your hand through it, but not so thin that it’s translucent.
Use dry flour on the rolling surface. Not oil. Not water. Just plain atta. Oil makes the dough slippery and prevents even cooking. Water makes it sticky and causes uneven browning. A light dusting of flour lets the roller glide without tearing.
And don’t roll in circles. Start from the center and roll outward in one direction, then rotate the dough 45 degrees and roll again. Repeat. This ensures even thickness. A lopsided chapati cooks unevenly - thick parts stay raw, thin parts burn.
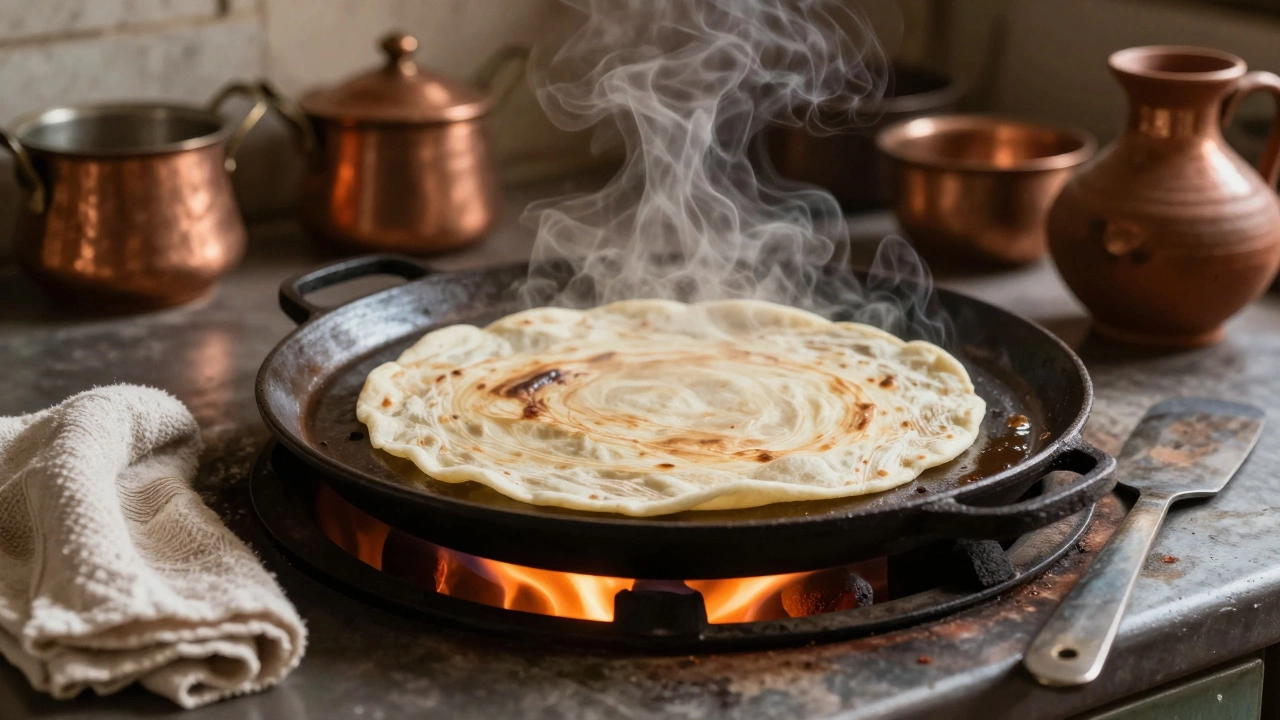
Cooking: The Right Heat and the Right Flip
Your tawa (griddle) needs to be medium-hot. Not smoking hot. Not cold. Test it: sprinkle a few drops of water. They should dance and evaporate in 2-3 seconds. That’s your sweet spot.
Place the rolled chapati on the tawa. Let it sit for 15-20 seconds. You’ll see small bubbles form. That’s steam building under the surface. Flip it. Now, press gently with a dry cloth or spatula. Don’t smash it. Just press down lightly. This helps the steam push through and puff it up. If it doesn’t puff, your dough is too dry or the heat is too low.
Once it puffs, flip it again. Cook the second side for 10-15 seconds. Then, hold it over an open flame for 3-5 seconds. This is where magic happens. The direct heat turns the trapped steam into a burst of air. The chapati balloons into a soft, airy disc. No flame? No puff. No puff? No softness.
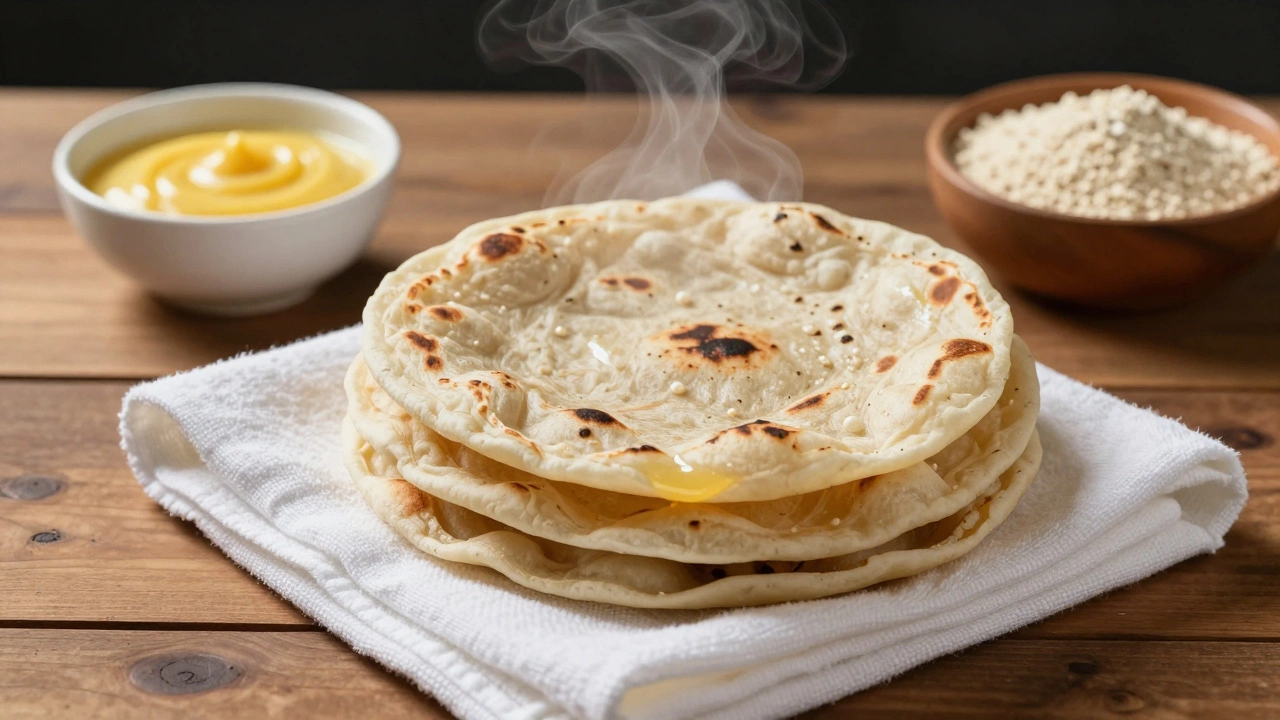
The Final Secret: Keep Them Warm
Once cooked, don’t stack them on a plate. Don’t leave them out to cool. Put them straight into a clean, dry cotton cloth - like a kitchen towel. Fold the cloth over them. The trapped heat keeps them soft. The cloth absorbs excess moisture without making them soggy. If you stack them on a metal plate, they’ll steam and turn rubbery. If you leave them on the counter, they’ll dry out and crack.
Soft chapatis stay soft for hours if stored this way. Even the next day, if you reheat them briefly on the tawa, they’ll taste fresh again.
Why Do Some Chapatis Go Hard So Fast?
There are three main reasons:
- Dough too dry - not enough water, or flour too old
- Under-kneaded - gluten didn’t develop enough to hold steam
- Overcooked or no flame puff - steam escaped before it could inflate the chapati
If your chapatis are hard after 10 minutes, go back to these three. Fix one, and you’ll see a difference.
Common Mistakes (And How to Avoid Them)
- Using oil to grease the rolling surface - leads to uneven cooking and greasy texture
- Rolling too fast - creates uneven thickness and tearing
- Using cold water - prevents starch gelatinization, so no softness
- Skipping the resting time - dough is hard to roll and doesn’t puff well
- Not using the flame - chapatis stay flat and dense
What to Do If Your Chapatis Still Aren’t Soft
Try this quick fix: add 1 teaspoon of ghee or oil to the dough while kneading. It’s not traditional, but it works. Fat coats the gluten strands, making the chapati more tender. It’s a shortcut used in many households. You’ll still get the puff, the softness, the texture - just with a richer flavor.
Or, if you’re in a rush: after cooking, wrap each chapati in foil and place it in a warm oven (150°C) for 5 minutes. The steam inside the foil softens it again. Not perfect, but better than a rock.
Final Thought: It’s Not Magic. It’s Consistency.
There’s no one secret ingredient. No exotic spice. No special tool. Just attention to detail. The right flour. Hot water. Long kneading. Proper rolling. Flame puff. Warm storage. Do all five, and your chapatis will be soft every time. Make one mistake, and the whole chain breaks.
Practice this once a week. Soon, you won’t even think about it. Your hands will remember. Your kitchen will smell like home. And your family? They’ll stop asking if you bought rotis from the market.
Can I use all-purpose flour instead of atta for soft chapatis?
No. All-purpose flour is refined white flour with most of the bran and germ removed. It lacks the fiber and structure that atta provides. Chapatis made with all-purpose flour will be softer at first, but they’ll turn rubbery quickly, lack flavor, and won’t puff properly. True chapatis need whole wheat flour - atta - to get that authentic texture and nutritional value.
Why does my chapati not puff up at all?
There are three likely reasons: your dough is too dry, your tawa isn’t hot enough, or you skipped the flame step. Dry dough doesn’t trap steam. Low heat means steam forms too slowly. And without the direct flame, there’s no burst of heat to make the chapati balloon. Make sure the dough is soft and well-rested, the tawa is medium-hot, and always finish with a quick pass over the flame.
How long should I rest the dough before rolling?
At least 30 minutes. This gives the flour time to fully absorb the water, which makes the dough easier to roll and prevents tearing. It also lets the gluten relax, so the chapatis puff evenly. If you’re in a hurry, 15 minutes will work, but the texture won’t be as soft. Overnight refrigeration is fine too - just bring it to room temperature before rolling.
Can I make chapatis ahead of time and reheat them?
Yes. Stack cooked chapatis with a clean cloth between each one, then wrap the whole pile in foil. Store in the fridge for up to 3 days. To reheat, warm each chapati on a dry tawa for 10-15 seconds per side. Or microwave for 10 seconds wrapped in a damp paper towel. They’ll taste almost as good as fresh.
Is it okay to use a rolling pin or should I use my hands?
A rolling pin works fine - most people use it. But if you want perfect control, try using your palm. After shaping the dough into a ball, press it flat with your hand first. Then use the rolling pin to stretch it. This gives you more feel for the thickness. Either way, the key is even pressure and rotating the dough as you roll.