Roti Thickness & Cooking Guide
Result Title
ThicknessPro Tip
Helpful advice goes here.
Have you ever stared at a lump of dough on your rolling pin, wondering if you’re doing it right? You roll it out, place it on the hot tawa (griddle), and suddenly it puffs up-or doesn’t. It stays flat like a pancake, or worse, it turns into a chewy leather strap that hurts your teeth. The question isn’t just about taste; it’s about physics, patience, and the specific dish you are serving it with.
The debate over whether roti should be thick or thin is one of the most common kitchen arguments in Indian households. There is no single "correct" answer because the ideal thickness depends entirely on what you are eating it with and how you plan to cook it. A roti meant for soaking up thick, oily curry needs different structural integrity than one meant for scooping up light dal. Let’s break down exactly when to go thin, when to go thick, and how to get that elusive puff every time.
Why Thickness Matters More Than You Think
Thickness dictates three things: cooking time, texture, and versatility. When you roll a roti very thin, the heat penetrates the dough instantly. This creates a crispy exterior but risks burning the inside before it cooks through if your flame is too high. Thin rotis are delicate. They tear easily when folded and don’t hold heavy sauces well. On the other hand, thick rotis take longer to cook. They retain more moisture, resulting in a softer, fluffier interior. However, if you don’t manage the heat correctly, they can remain raw in the center while the outside burns.
Think of it this way: a thin roti is like a tortilla chip-crisp, fragile, and best for dry snacks. A thick roti is like a steamed bun-soft, durable, and perfect for messy curries. Understanding this distinction helps you stop guessing and start choosing based on your meal.
The Case for Thin Roti: Crispy and Delicate
Thin rotis have their place, especially in regions where the climate is cooler or when the accompanying dishes are dry. If you are serving dry vegetable sabzi, chana masala (without too much gravy), or even just pickles and yogurt, a thinner roti works beautifully. It allows you to taste the spices of the food without the bread overpowering it.
Here is why you might choose thin:
- Faster Cooking: Thin rotis cook in seconds. This is great if you are feeding a large family and need to churn out bread quickly.
- Crispier Texture: If you prefer a slight crunch rather than a soft chew, rolling it paper-thin achieves this. Some people even eat them slightly undercooked to enjoy that crispiness.
- Less Dough Usage: You use less flour per serving, which some consider more economical, though the difference is minimal.
However, there is a major downside. Thin rotis lose their puff. Because the layers are compressed so tightly by the rolling pin, the steam generated during cooking has nowhere to expand. Instead of a beautiful balloon shape, you get a flat disc. Additionally, they become brittle as they cool down. If you wrap a thin roti around a chicken piece, it will likely shatter.
The Case for Thick Roti: Soft and Puffy
In many parts of India, particularly in the north and west, the standard for a good roti is softness and puffiness. Thick rotis are the champions of texture. When rolled to a medium thickness (about 3-4 millimeters), the dough retains enough air pockets between its layers. When placed on the hot tawa, these air pockets expand rapidly, creating the signature dome shape.
Thick rotis are superior for:
- Gravy-Based Curries: Dishes like butter chicken, palak paneer, or dal makhani require a sturdy vehicle. A thick roti absorbs the sauce without falling apart.
- Softness Retention: Thick rotis stay soft for longer. Even after cooling, they remain pliable and easy to fold.
- Better Puffing: The extra dough mass provides structure for the steam to push against, leading to a fuller puff.
The trade-off is that thick rotis require more skill to cook. You cannot rush them. If you flip them too early, the inside remains raw. If you press them too hard with a cloth while cooking, you deflate the puff. But the reward is a bread that feels luxurious in the mouth.
The Sweet Spot: Medium Thickness
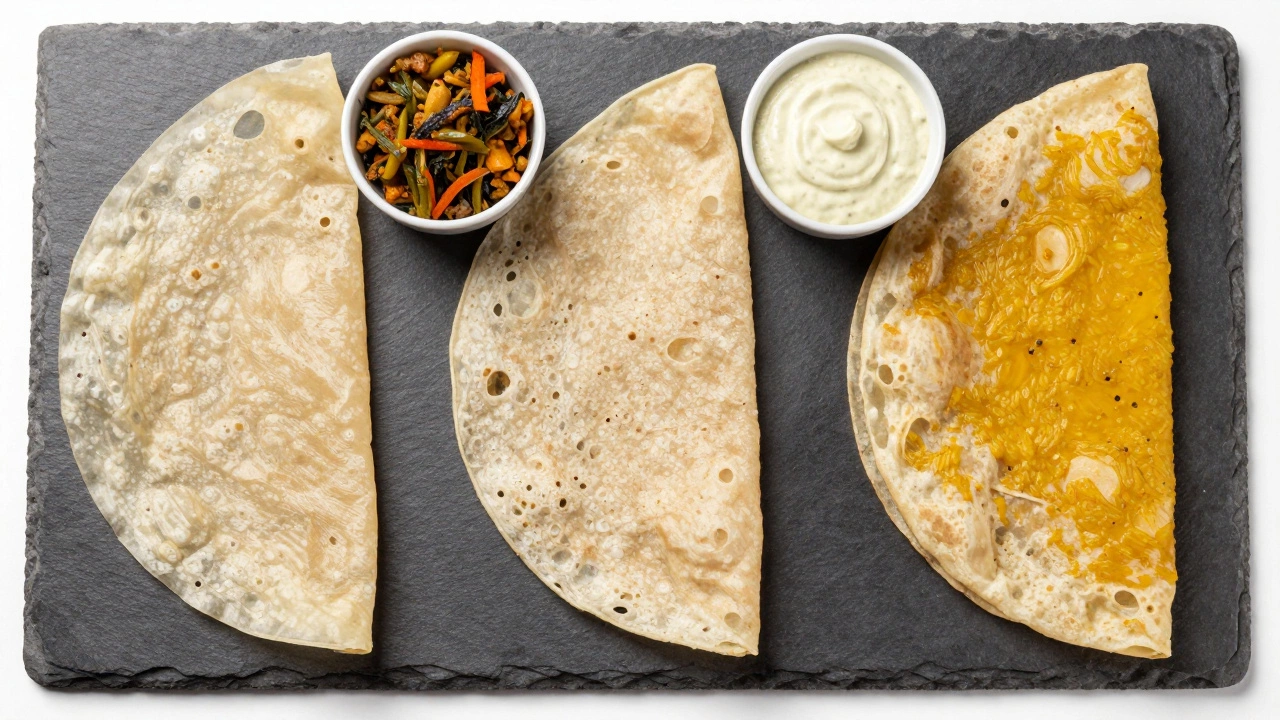
For most home cooks, the answer lies in the middle. A medium-thick roti offers the best of both worlds. It is thin enough to cook relatively quickly but thick enough to puff up and stay soft. Aim for a consistency similar to a quarter-inch thick pancake batter spread out. Visually, you should still see the faint shadow of your hand through the dough, but it shouldn’t be translucent.
This thickness is versatile. It works with both dry and wet dishes. It puffs reliably on a gas stove or an electric griddle. It is forgiving if you make a small mistake in timing. If you are new to making roti, start here. Once you master the medium thickness, you can experiment with thinner or thicker variations based on your mood.
How to Achieve Your Desired Thickness
Getting the thickness right starts long before you touch the rolling pin. It begins with the dough hydration. If your dough is too dry, it will crack when you try to roll it thin. If it is too wet, it will stick to the pin and stretch unevenly, making it impossible to control the thickness.
Follow these steps for consistent results:
- Knead Well: Knead your whole wheat flour (atta) for at least 5-7 minutes. A well-kneaded dough develops gluten, which gives elasticity. Elastic dough stretches evenly, allowing you to achieve uniform thickness without tearing.
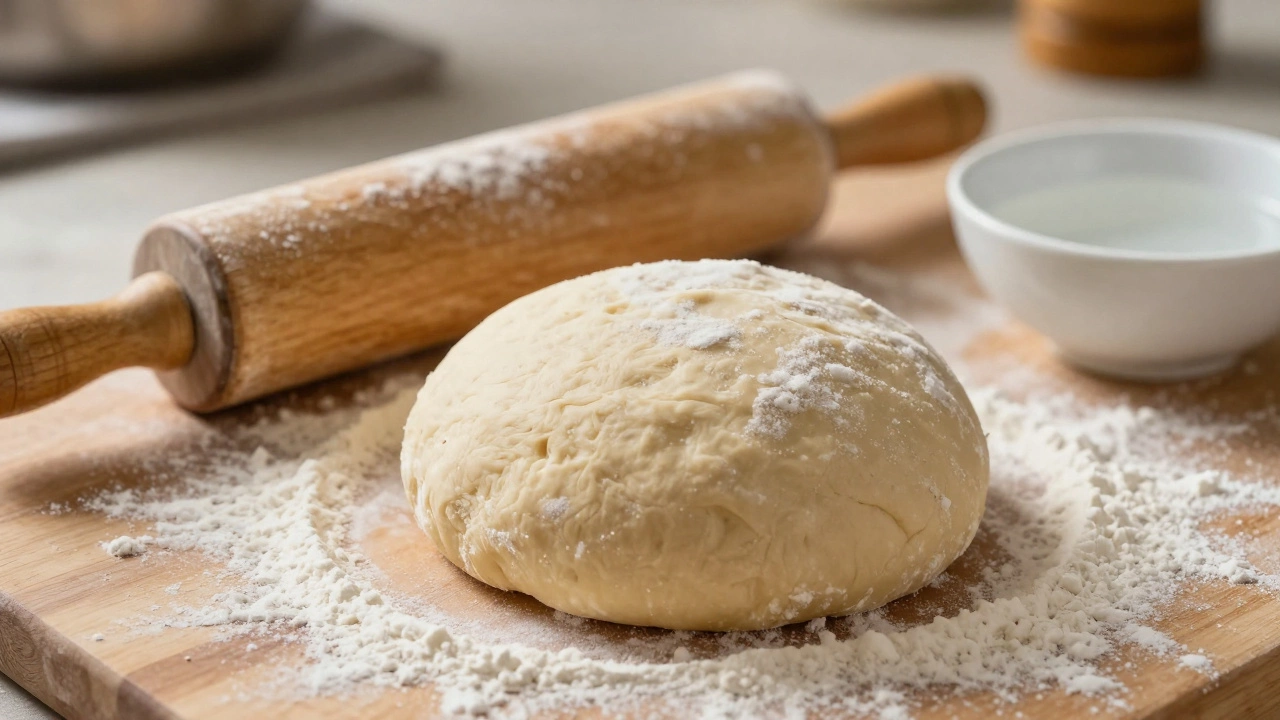
- Rest the Dough: Cover the dough and let it rest for 15-20 minutes. This relaxes the gluten strands. Trying to roll tight, tense dough results in a spring-back effect, where the roti shrinks back to a ball instead of staying flat and thin.
- Use Less Rolling Pin Pressure: Many people press down hard with the rolling pin, thinking this makes it thinner. Actually, gentle, sweeping motions work better. Start from the center and roll outward. Rotate the dough frequently to maintain a circular shape.
- Check Transparency: Hold the rolled roti up to the light. For a thin roti, it should be almost see-through. For a medium roti, you should see shadows but not clearly through it. For a thick roti, it should look opaque.
Cooking Techniques for Different Thicknesses
Your cooking method must adapt to the thickness. You cannot use the same technique for a paper-thin roti and a thick, fluffy one.
| Thickness | Heat Level | Cooking Time | Puffing Technique |
|---|---|---|---|
| Thin | Medium-High | 30-45 seconds per side | Direct flame only; do not press |
| Medium | High | 1 minute per side | Press gently with cloth after first side bubbles |
| Thick | Medium | 1.5-2 minutes per side | Press firmly with cloth to encourage puff |
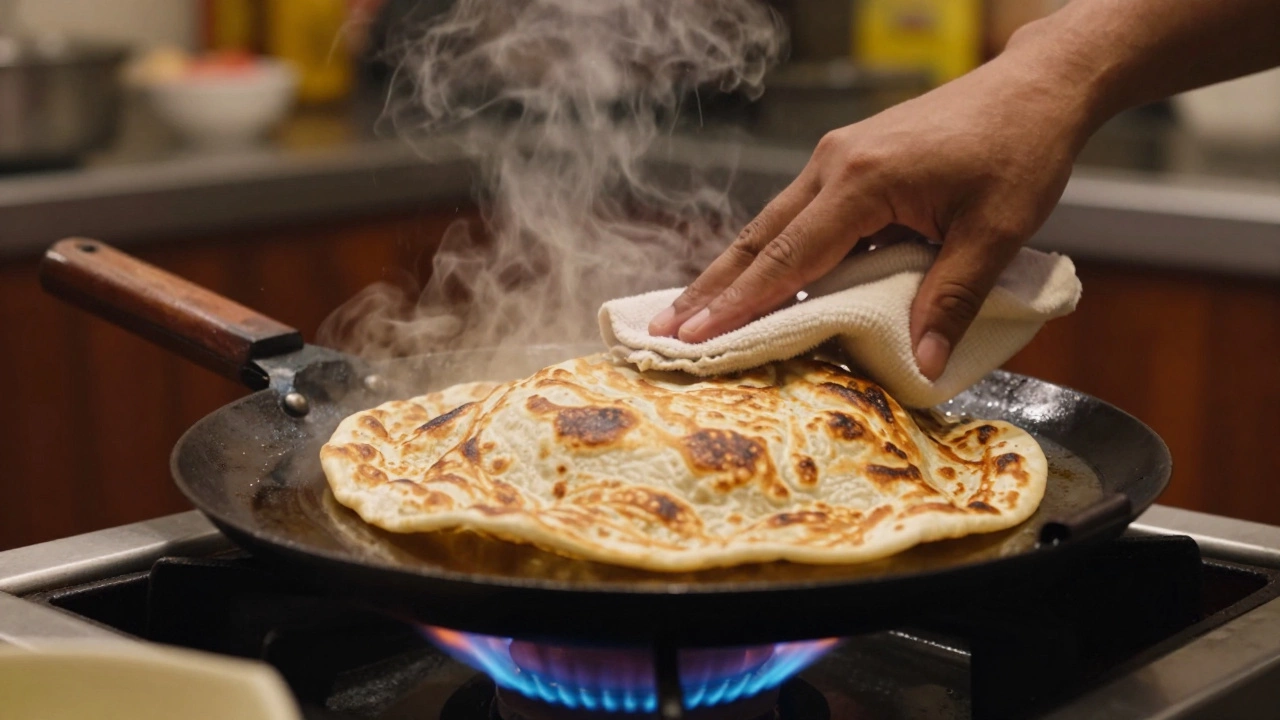
For thin rotis, speed is key. Place them on a very hot tawa. As soon as bubbles form, flip. Then, move it directly to the open flame for 2-3 seconds. Do not press it. Pressing will crush the delicate structure. For thick rotis, you need lower heat to ensure the center cooks. Use a clean cotton cloth to press the roti gently while it is on the direct flame. This mechanical pressure helps force the steam into the center, creating a big puff.
Common Mistakes That Ruin Thickness
Even with the right intention, mistakes happen. Here are the most common errors:
- Uneven Rolling: If one side is thick and the other is thin, the thin part will burn before the thick part cooks. Always rotate the dough 90 degrees after each roll.
- Dry Dough: Adding water gradually is crucial. If the dough cracks, sprinkle a few drops of water on the surface and knead again. Never add a splash all at once.
- Overworking the Ball: After taking a portion of dough, shape it into a smooth ball. If you poke holes in it or leave creases, those weak points will tear when you roll it thin.
- Cold Tawa: Always preheat your tawa. If you place a thin roti on a cold pan, it will absorb oil and become greasy rather than cooking properly.
Serving Suggestions Based on Thickness
Your choice of thickness should match your menu. If you are hosting a dinner party with rich, creamy curries, go for medium-to-thick rotis. They feel substantial and complement the heaviness of the meal. For a quick lunch with leftover vegetables and rice, thin rotis are efficient and light. In summer, many people prefer thinner rotis because they feel lighter on the stomach. In winter, the warmth and density of a thick, buttered roti provide comfort.
Don't be afraid to mix them up. Make half the batch thin for kids who prefer crispy textures, and half thick for adults who enjoy soft bread. The beauty of homemade roti is its adaptability. There is no rulebook, only preference.
What is the ideal thickness for roti?
The ideal thickness for most home-cooked meals is medium, approximately 3-4 millimeters. This thickness allows the roti to puff up nicely on the flame while remaining soft and durable enough to hold curries. It balances cooking time and texture perfectly for beginners and experts alike.
Why does my roti not puff up?
Rotis usually fail to puff due to three reasons: the dough is not kneaded well enough (lacking elasticity), the tawa is not hot enough, or you are pressing the roti too hard before it has formed initial bubbles. Ensure your dough is smooth, your pan is sizzling hot, and you apply gentle pressure only after the surface starts to bubble.
Should I roll roti thin or thick for biryani?
For biryani, medium-thick rotis are generally preferred. Biryani is a rich, heavy dish, and a sturdy roti complements it better than a fragile thin one. The thickness allows you to scoop up rice and meat without the bread breaking. However, if you serve raita (yogurt sauce) alongside, a slightly thinner roti can help balance the richness.
How do I keep rotis soft after cooking?
To keep rotis soft, brush them with a little ghee or butter immediately after cooking. Stack them in a clean, dry cloth-lined container. The trapped steam keeps them warm and pliable. Avoid stacking them while they are still hot and wet, as this can make them soggy. Let them cool slightly before wrapping.
Can I use all-purpose flour for roti?
While traditional roti is made with whole wheat flour (atta), you can use all-purpose flour (maida) for a softer, thinner result, often called chapati or paratha depending on preparation. However, whole wheat provides better nutrition and a distinct nutty flavor. If using all-purpose flour, reduce the water content slightly as it absorbs less liquid than whole wheat.