Ask anyone who’s bitten into a stiff, chewy roti, and you’ll hear the same thing: it’s a letdown. You expect roti—India’s beloved flatbread—to be supple, warm, and almost cloud-like. But for so many home cooks, the dream of soft roti feels almost mythical. Why does one batch turn out gorgeous and the next come out dry as cardboard? The truth is, getting soft roti isn’t magic. It’s science, rhythm, and a pinch of kitchen intuition.
Why Do Roti Turn Hard? The Science Behind Softness
It’s wild how much chemistry is happening just from flour and water. The moment you add liquid to wheat flour, gluten begins to form. Gluten is a protein that gives roti its structure—too little and your bread rips apart, too much and you’re chewing rubber. Studies in India’s agricultural labs have shown that the protein content in regular atta (whole wheat flour) is higher than most American bread flours, but the grind is finer, which really matters. This almost powdery texture traps more water. So picking the right kind of flour is step one.
Bread scientists (yes, they exist) have measured moisture by weight: ideal roti dough contains about 48-50% moisture, meaning half the weight is water. Less water and the bread dries out; more and it turns sticky and unmanageable. Think of your dough as a living thing—poke it, squish it, let it rest. The more you mix and knead, the more those gluten threads line up, forming a high-thread-count bedsheet to trap the steam while cooking.
The mistake many people make is skipping the rest period. After kneading, always let your dough sit for at least 30 minutes, covered. This lets the water penetrate fully, letting gluten strands relax and become pliable. Ever noticed how good roti-walas knead the dough in batches hours ahead? That’s no random trick—it’s essential for that melt-in-the-mouth bite.
Now comes the rolling. If you use too much flour while rolling, your roti surface gets tough; too little and it will stick. A light dusting is all you need. And always keep your rolling pin and surface clean. Here’s another tip: uniform thickness is key. Thicker edges won’t cook properly and thinner centers will turn crisp. Aim for chapati as thin as a dish towel but not see-through.
Heat is your friend, but it can turn into an enemy in seconds. Your pan—ideally a cast iron tawa—should be properly hot before you lay down that disc of dough. A cold pan spells disaster: the roti will dry out before it cooks. The right test? Sprinkle a few drops of water on the tawa; if they dance and sizzle off in a flash, you’re ready to go.
Kneading, Resting, Rolling: The Roti Softness Ritual
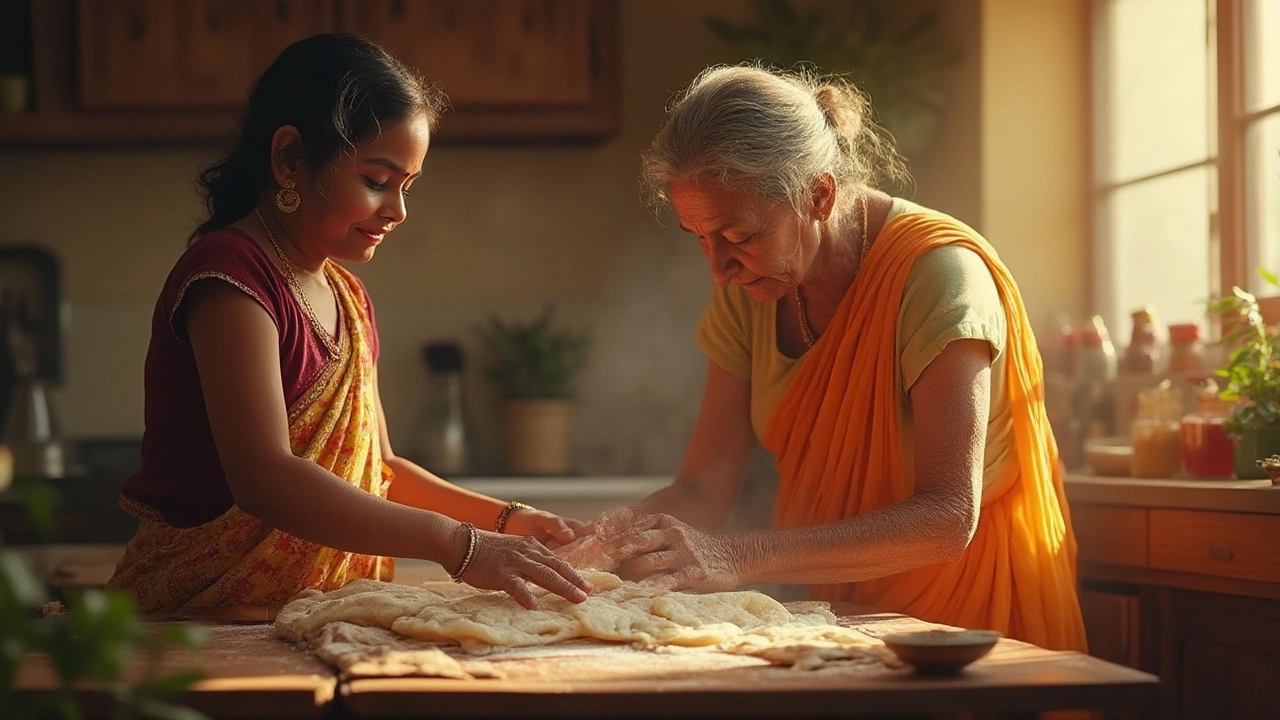
There’s a comforting rhythm to making roti that’s almost meditative. Start with sifted atta, never skip this step—it removes lumps and aerates the flour. Add warm water little by little, not all at once. Pile in water with one hand and mix with the other. When it just starts to come together, switch to kneading. Press with your knuckles, fold, rotate, and repeat. Real Indian kitchens say you need eight to ten minutes; your arms might complain, but your taste buds will thank you. If the dough feels hard, dip your hand in water and knead again until it’s velvety. Too sticky? Sprinkle a pinch more flour.
Many Indian grandmothers swear by adding a teaspoon of oil or ghee during kneading. Why? Oil coats the gluten strands, upping moisture and flexibility. Recent home-based experiments actually recorded a 10-15% boost in softness scores with just a touch of fat. Some folks also add a splash of milk or yogurt. The lactic acid helps soften gluten and adds a gentle tang. But don’t overdo the extras—stick with classic water and flour for the purest taste.
Once kneaded, cover your dough with a damp cloth or plastic wrap. It helps the moisture stay trapped, preventing surface crusts. If you’re in a rush, a quick five- to ten-minute rest is better than none. But honestly, 30 minutes or more is best. Busy in the evening? Make the dough in the morning and let it chill covered in the fridge. It’ll only get better.
Divide the dough into small balls just before rolling, making sure to keep the rest covered. Keep them all the same size—for a regular-sized roti, golf ball sized pieces work perfectly. Shape each into a disc and flatten slightly. Some home cooks flatten with their palms before rolling; others roll from the center outwards, rotating as they go.
The secret to uniform, soft roti is gentle rolling. Don’t bash, don’t press too hard. Think light touch—like patting a kitten, not flattening clay. Lightly dust the rolling board to prevent sticking and use short, even strokes. Some people flip the dough 90 degrees after each roll; others just rotate the board. Either way, aim for an even, thin disc.
Have you ever seen roti cooked by flipping with bare hands? It looks intimidating, but it’s easier than tongs. Tongs can leave dents, and those dents get charred, turning tough. With practice, flipping by hand keeps your roti intact and fluffy. Of course, if you’re trying for the first time, keep those tongs handy and don’t burn yourself.
If your dough is too dry after rolling—crumbling at the edges or cracking—sprinkle a little water and knead a tiny bit more. Too wet? Add a dusting of flour. The ideal dough is elastic, not sticky and not crumbly.
Some people dust each rolled roti with a bit of dry flour. Purists prefer to skip this so the roti surface stays smooth and doesn’t toughen during cooking. If you must use flour, shake off any excess before cooking.

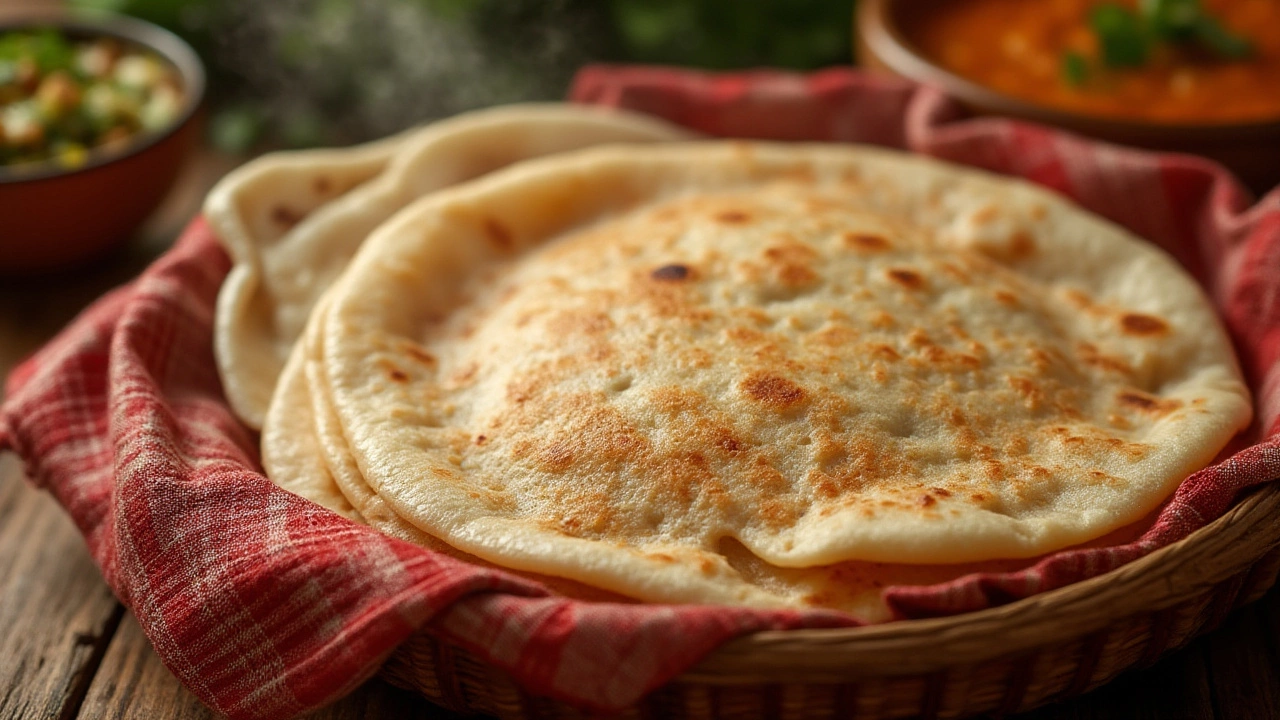
Cooking, Puffing, and Keeping Roti Soft After Cooking
Now we get to the part everyone pays attention to: the stove. Place your rolled roti onto the preheated tawa. Wait for small bubbles to form—don’t flip too early. Give it maybe 15-20 seconds, then flip. Look for even white splotches; if the roti’s browning too quickly, your heat is too high. If it’s taking too long, crank it up.
This second stage is where the magic happens. Press lightly along the edges with a folded kitchen towel or spatula. This helps create steam inside, which puffs up the roti. That puff is so important—it’s what gives you those layers and the wonderful softness. If your roti doesn’t puff, don’t panic. Usually, uneven rolling or a cold pan is the culprit. But even unpuffed rotis can turn out soft if you let them rest right after cooking.
Here’s a trick: briefly transfer the half-cooked roti straight onto an open flame. It puffs brilliantly, just like street vendors do. No open flame? Pressing all around with a clean towel or spatula on the tawa helps. Just be gentle—you’re coaxing, not flattening. Once it puffs, remove quickly; overcooking makes it dry.
The moment you finish cooking each roti, brush lightly with ghee or butter. Not only does it add aroma, but the fat seeps in, locking in moisture. Stack the rotis as you go, wrapping them in a clean kitchen towel or placing them in an insulated container. This helps steam circulate, keeping them pillowy-soft for hours. Most restaurants use this trick, and so do home cooks who want soft rotis long after the meal starts.
If you want roti to stay soft roti even for next day’s leftovers, this is your go-to move: wrap fresh rotis in foil or a cloth, pop the bundle into a closed container, and let it sit a few minutes. The trapped steam is your secret weapon. If reheating, sprinkle with a few drops of water and heat on a tawa, covered for 10 seconds. This revives that tenderness almost instantly.
Don’t be afraid to experiment. Some people try adding mashed boiled potatoes to the dough, which adds moisture and softness. A chef in Mumbai actually folds a spoon of milk powder into her dough for extra fluff. Another home baker swears by resting her dough in a slightly warm (not hot!) oven. The point is, you can make roti your own, but those basic rules—right flour, proper kneading, patient resting, and the right heat—always hold true.
Soft roti isn’t a legend. It’s about getting the little things right: flour choice, water amount, gentle kneading, proper resting, even rolling, hot pan, quick flip, and a ghee finish. Armed with these secrets, you’re totally ready for that first bite into a roti so tender it almost folds itself. Give these tricks a try and see the difference at your own table—your friends and family won’t believe you didn’t order from a restaurant.