Coconut Milk Curdling Risk Checker
Risk Assessment
Why this happens
When coconut milk is exposed to high heat (above 90°C), acidic ingredients, or insufficient stabilizers, the emulsion breaks down, causing curdling.
Why Coconut Milk Curdles and How to Stop It
When you add coconut milk to curry and see it split into curds and watery layers, the culprit is usually a combination of heat, acid, and protein‑fat imbalance. Coconut milk is an emulsion of water, coconut oil, and tiny protein particles. Heat can break that emulsion, especially if the liquid is boiled rapidly or mixed with acidic ingredients like tomatoes or tamarind.
Understanding the science helps you control it. Below is a quick cheat sheet:
- Temperature: Keep the liquid below a gentle simmer (around 85‑90 °C / 185‑194 °F).
- Acid level: Add acidic components after the coconut milk has thickened.
- Starch & fats: Use a thickener or a splash of coconut cream to stabilize the emulsion.
Introducing Coconut Milk the Right Way
First, let’s define the star of the show.
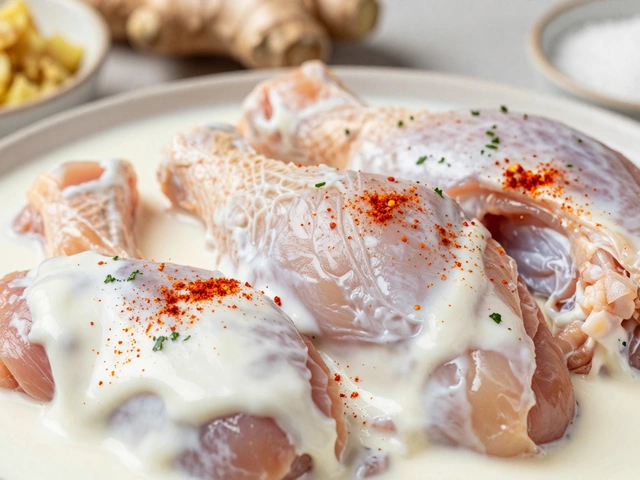
Coconut milk is a liquid extracted from grated fresh coconut meat, composed of water, coconut oil, and a small amount of protein that forms an emulsion. It comes in two main varieties: regular (about 17 % fat) and “lite” (usually 5‑7 % fat).
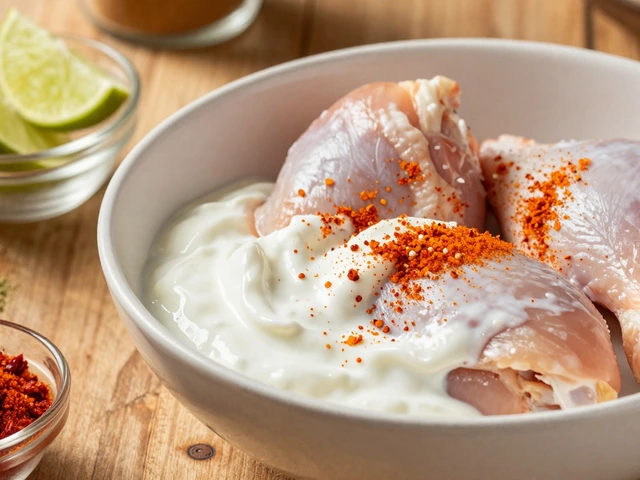
For a chicken curry, I recommend the regular version because the higher fat content gives a richer mouthfeel and makes the emulsion more tolerant to heat.
Here’s the step‑by‑step method that works every time:
- Prepare your base (onions, ginger, garlic, spices) and bring it to a low simmer.
- Allow any tomatoes or tamarind paste to cook down for 5‑7 minutes so their acidity mellows.
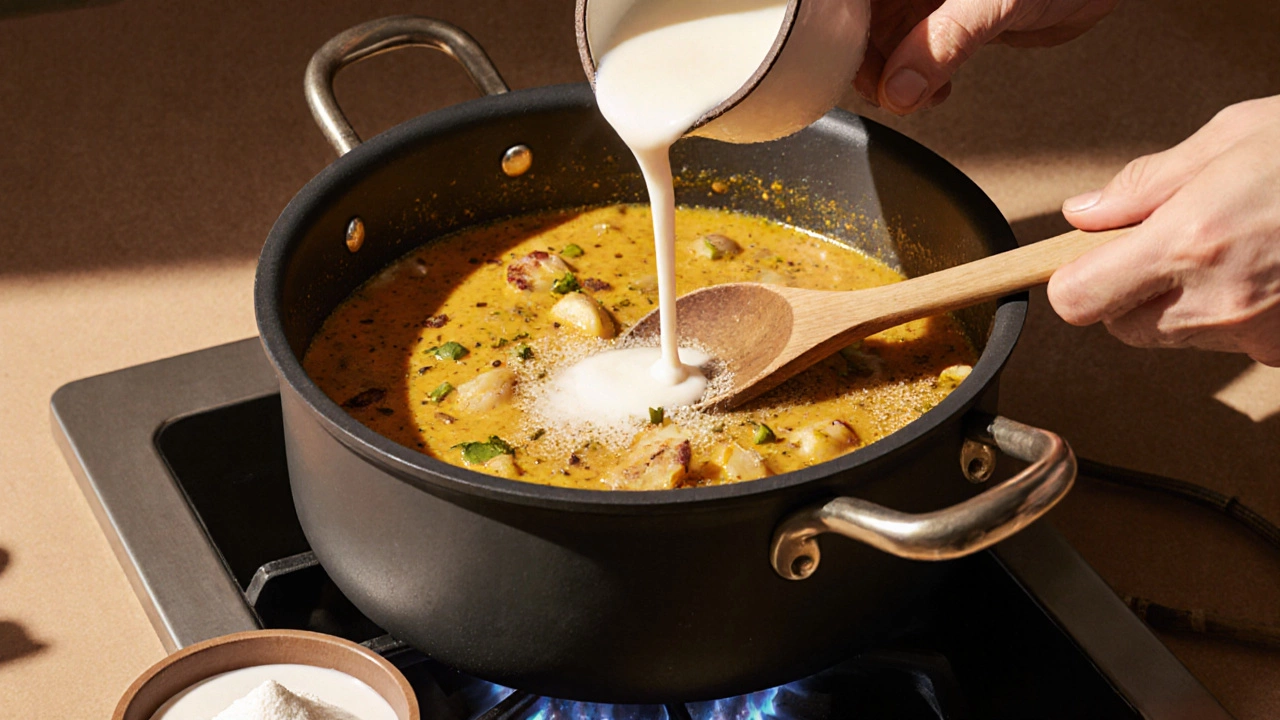
- Reduce the heat to low and stir in a tablespoon of coconut cream or a pinch of cornstarch dissolved in cold water - this creates a protective layer.
- Gradually pour the coconut milk in a thin stream while constantly stirring.
- Maintain a gentle bubble; never let the pot reach a rolling boil.
- Add the chicken pieces, cover, and let it finish cooking on low heat for 15‑20 minutes.
Temperature Control - The Golden Rule
Heat is the biggest enemy. When the mixture reaches a rapid boil, the water phase expands faster than the oil droplets, causing them to separate. Use a heavy‑bottomed pot to distribute heat evenly and watch the surface: a few occasional bubbles mean you’re safe.
If you need a quick temperature check, dip a spoon into the sauce. If the liquid trips a little and forms a thin film on the spoon, you’re still in the safe zone. Once you see steam rising steadily and the sauce starts to froth, lower the flame immediately.
Acidity Management - When and How to Add Sour Elements
Acidic ingredients-tomatoes, tamarind, lime juice, even yogurt-can destabilize the coconut emulsion. The trick is timing:
- Tomatoes and tamarind: Cook them with the base spices for at least 5 minutes before the coconut milk arrives. This reduces their sharpness.
- Lime juice: Add it at the very end, after you’ve turned off the heat. A teaspoon is enough to brighten the flavor without breaking the sauce.
- Yogurt or buttermilk: If you want a tangy note, whisk the dairy‑alternative with a little water and stir it in during the last 2 minutes of cooking on low heat.
Starch & Fat Boosters - Building a Stable Emulsion
Adding a small amount of starch or extra fat creates a barrier that helps keep the oil droplets suspended. Here are my go‑to options:
| Stabilizer | Fat Content | Typical Use | Curdling Risk |
|---|---|---|---|
| Coconut cream | ≈ 24 % | Finishing touch, adds richness | Very low |
| Cornstarch slurry | 0 % | Thickens quickly, neutral flavor | Low (if added before heating) |
| Almond milk | ≈ 2 % | Light, nutty alternative | Medium (needs careful heat control) |
| Heavy cream | ≈ 36 % | Supremely rich, Western‑style curries | Very low |
For a classic Indian chicken curry, I usually whisk 1 tbsp of cornstarch with 2 tbsp cold water and add it right before the coconut milk. This pre‑emptively thickens the base and gives the emulsion extra body.
Common Mistakes and How to Fix Them
Mistake 1: Dumping cold coconut milk into a scorching pot. The sudden temperature shock causes the fat to separate. Fix: Warm the coconut milk gently in a separate saucepan before adding.
Mistake 2: Boiling the curry after the milk is in. The high heat breaks the emulsion. Fix: Reduce to a simmer, and if you see the sauce starting to split, immediately lower the flame and whisk vigorously.
Mistake 3: Adding too much acid at once. Fix: Balance by adding a pinch of sugar or a dash of coconut cream to neutralize excess acidity.
Quick Checklist Before You Start
- Use regular‑fat coconut milk (or add coconut cream).
- Cook acidic base ingredients for at least 5 minutes before milk.
- Prepare a cornstarch slurry or have coconut cream ready.
- Heat the pot on low to medium; avoid a rolling boil.
- Stir constantly while pouring milk.
- Add any final acid (lime, vinegar) after removing from heat.
Putting It All Together - A Sample Chicken Curry Recipe
Below is a concise recipe that incorporates every tip above. Feel free to adjust spice levels to your taste.
- Ingredients:
- 500 g chicken thighs, cut into bite‑size pieces
- 1 large onion, finely chopped
- 2 cm ginger, grated
- 3 cloves garlic, minced
- 2 tbsp vegetable oil
- 1 tsp mustard seeds
- 1 tsp cumin seeds
- 1 tsp turmeric powder
- 1 tsp coriander powder
- ½ tsp fenugreek leaves (kasuri methi)
- 200 ml canned coconut milk (regular)
- 1 tbsp coconut cream (optional for extra richness)
- 1 tbsp cornstarch + 2 tbsp cold water
- Salt to taste
- 1 tsp lemon juice (add at end)
- Method:
- Heat oil in a heavy‑bottomed pot over medium heat. Add mustard and cumin seeds; let them sputter.
- Add onions, ginger, garlic; sauté until golden.
- Stir in turmeric, coriander, and a pinch of salt; cook 2 minutes.
- Add chicken pieces; brown lightly on each side.
- Pour in ½ cup water, bring to a low simmer for 5 minutes to soften the tomato‑free base.
- Mix cornstarch slurry, then whisk in coconut cream. Reduce heat to low and slowly pour coconut milk while stirring.
- Maintain a gentle bubble for 10‑12 minutes, or until chicken is cooked through.
- Sprinkle fenugreek leaves, stir, then finish with lemon juice off the heat.
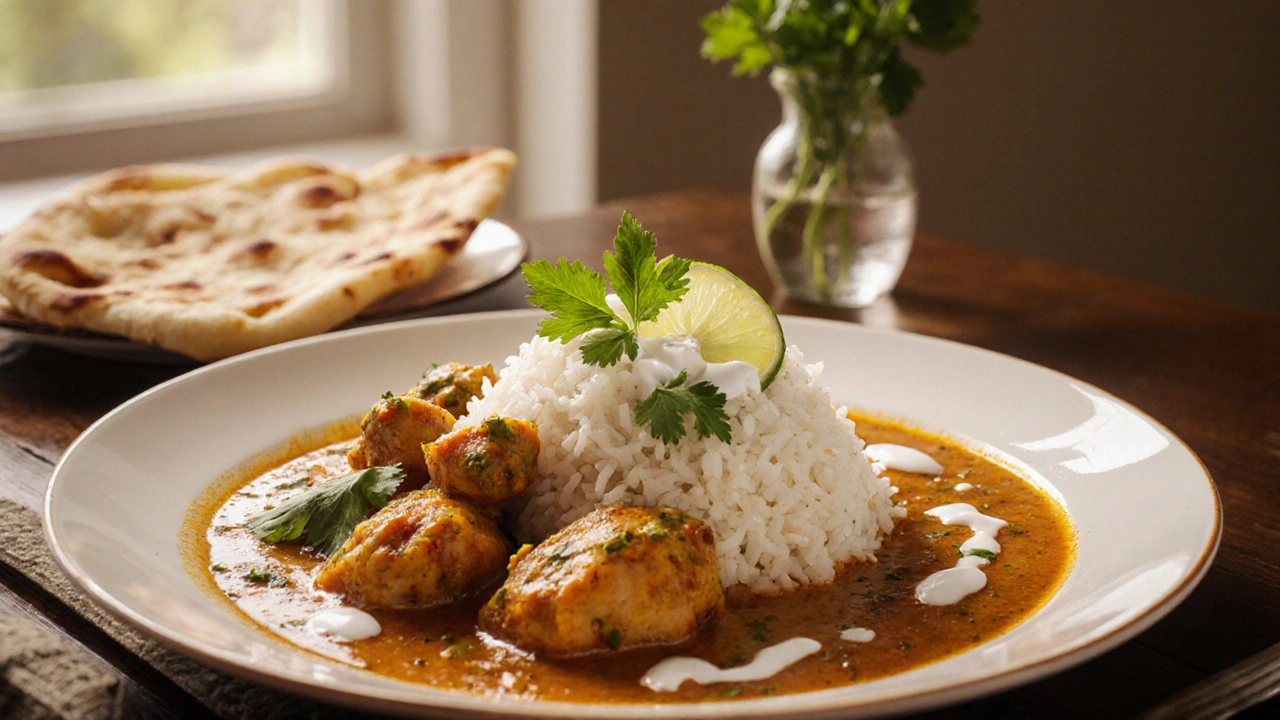
The result is a silky, glossy sauce that stays together, even after the curry cools. Serve with basmati rice or naan.
Frequently Asked Questions
Can I use canned coconut milk instead of fresh?
Yes. Canned coconut milk is actually the most reliable because it retains the natural fat content. Just give it a good stir before using to re‑emulsify any settled cream.
What if my curry still curdles despite these steps?
Turn the heat off, add a splash of coconut cream or a small knob of butter, and whisk vigorously. The extra fat will re‑bind the droplets and bring the sauce back together.
Is it okay to freeze a coconut‑based curry?
Absolutely. Cool the curry completely, portion it, and freeze in airtight containers. Thaw gently and reheat on low, adding a splash of coconut milk if the sauce looks thin.
Can I substitute almond milk for coconut milk?
You can, but almond milk has far less fat, so it’s more prone to curdling. Use a thickener like cornstarch and keep the heat low to compensate.
Why does adding yogurt cause curdling?
Yogurt contains proteins that coagulate quickly when exposed to heat and acid. Add it at the very end, off the heat, and whisk gently to keep it smooth.