Roti Puffing Troubleshooter
Enter details about your current cooking attempt to identify the most likely cause of a failed puff.
Current Conditions
You spent twenty minutes rolling out perfect circles, the dough felt right, and you’re standing over the stove waiting for that magical moment when the flatbread balloons into a sphere. But it just sits there, stubbornly flat. Or worse, it puffs slightly and then collapses immediately. If this sounds familiar, you aren’t alone. Roti is a unleavened flatbread made from whole wheat flour (atta), water, and salt, central to South Asian cuisine. Achieving a perfect puff isn't magic; it's physics. The air inside needs heat to expand rapidly, but only if the structure can hold it. When your roti refuses to rise, it’s usually because one of three things went wrong: the dough was too dry, the heat wasn't high enough, or the seal on the edge was broken. Let’s fix this once and for all.
The Science Behind the Puff
To understand why your roti fails, you have to look at what happens inside the bread. When you place raw dough on a hot surface, two things need to happen simultaneously. First, the moisture in the dough turns into steam. Second, the gluten network-the protein structure formed by kneading-must be strong and elastic enough to trap that steam. Think of it like a balloon. If the rubber is too thin or has holes, the air escapes. If you don’t blow hard enough (heat), the balloon doesn’t inflate.
In a successful Roti puffing process, the outer layer cooks and hardens quickly, creating a shell. Meanwhile, the interior remains soft and moist. As the internal temperature rises, the water vaporizes, expanding significantly in volume. Because the crust is sealed, the pressure builds up until the bread expands outward. If the dough is too dry, there’s no water to turn into steam. If the dough is under-kneaded, the gluten strands are too short to stretch without breaking. If the heat is low, the bread dries out before it can puff.
Dough Hydration: The Most Common Culprit
Ninety percent of non-puffing rotis come down to hydration. Whole wheat flour (Atta) absorbs water differently than refined flour (Maida). It contains bran and germ, which cut through gluten strands and absorb more liquid. If you use the same amount of water for atta as you do for white flour, your dough will be too stiff.
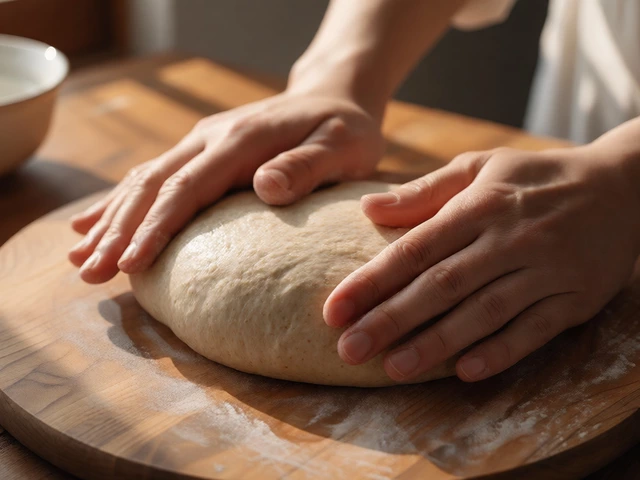
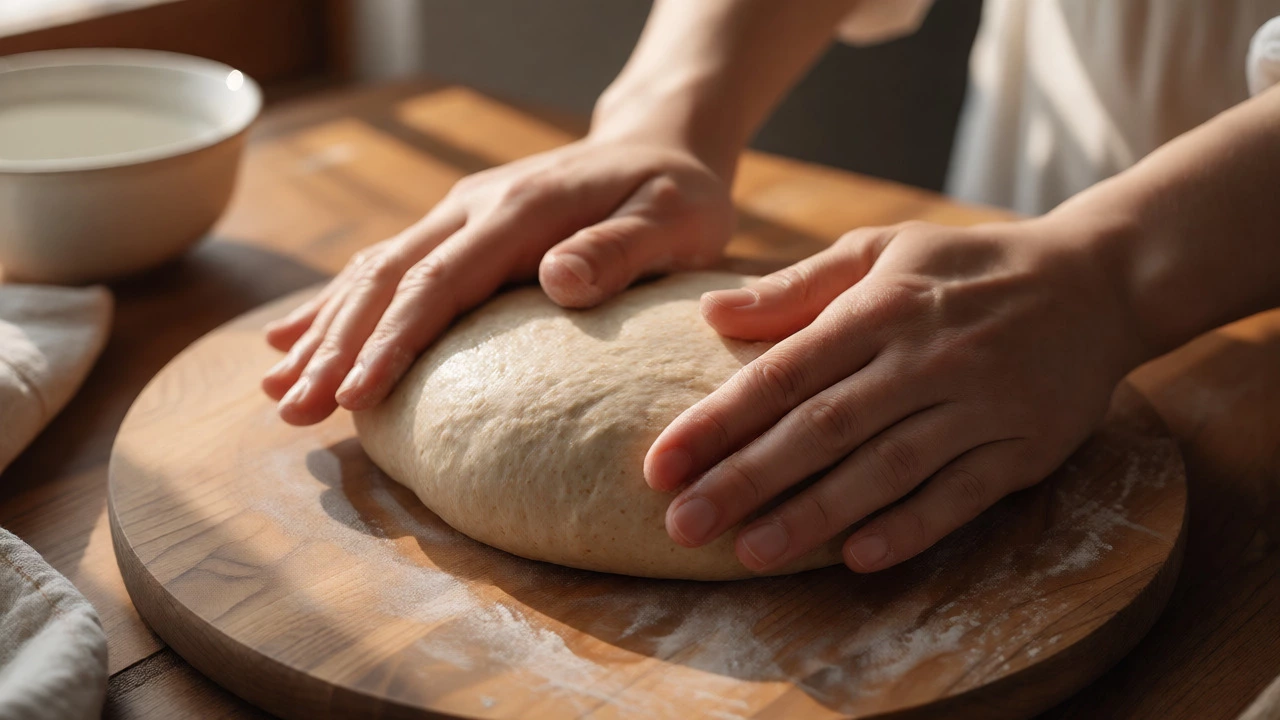
A good rule of thumb: Your dough should feel like your earlobe. Soft, pliable, and slightly tacky, but not sticky. If you press it with a finger, the indentation should spring back slowly. If it feels like clay or play-doh, it’s too dry. Dry dough cannot generate enough steam. It also cracks easily during rolling, creating tiny leaks where steam escapes before it can build pressure.
- Check the texture: Knead the dough for at least 5-8 minutes. You want a smooth ball.
- Rest it: Cover the dough with a damp cloth for 15-20 minutes. This allows the water to hydrate the flour particles evenly.
- Add oil or ghee: A teaspoon of fat helps lubricate the gluten strands, making them more extensible and less likely to tear.
Rolling Technique: Thickness and Uniformity
Even with perfect dough, bad rolling kills the puff. The goal is a uniform thickness. If one side is thick and the other is thin, the thin side cooks and burns while the thick side is still raw. The uneven expansion causes the bread to warp or tear rather than puff symmetrically.
When you roll, aim for a thickness of about 1/8th of an inch (3mm). Thinner is better for quick cooking, but if it’s paper-thin, it might tear. Use light pressure. Pressing too hard compresses the air pockets within the dough. Rotate the dough frequently to ensure even circular shape. If you see cracks forming on the edges, stop rolling. Those cracks are steam vents. Once steam escapes through a crack, the pressure drops, and the puff dies.
Heat Management: The Tawa and Flame Balance
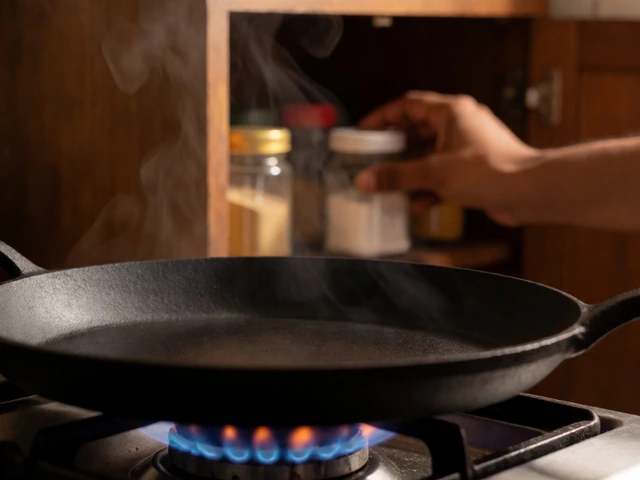
This is where most home cooks struggle. You need high heat, but controlled. The cooking surface, typically a cast-iron Tawa, must be preheated properly. If the tawa is cold, the roti will sit there drying out instead of cooking. Test it by sprinkling a few drops of water. They should sizzle and evaporate instantly.
Here is the ideal sequence:
- Stage 1 (Setting the Base): Place the rolled roti on the medium-hot tawa. Cook for 15-20 seconds. You want small bubbles to appear on the top surface. This sets the structure so it doesn’t stick later.
- Stage 2 (Flipping): Flip the roti. Cook for another 15-20 seconds. The bottom should have light brown spots.
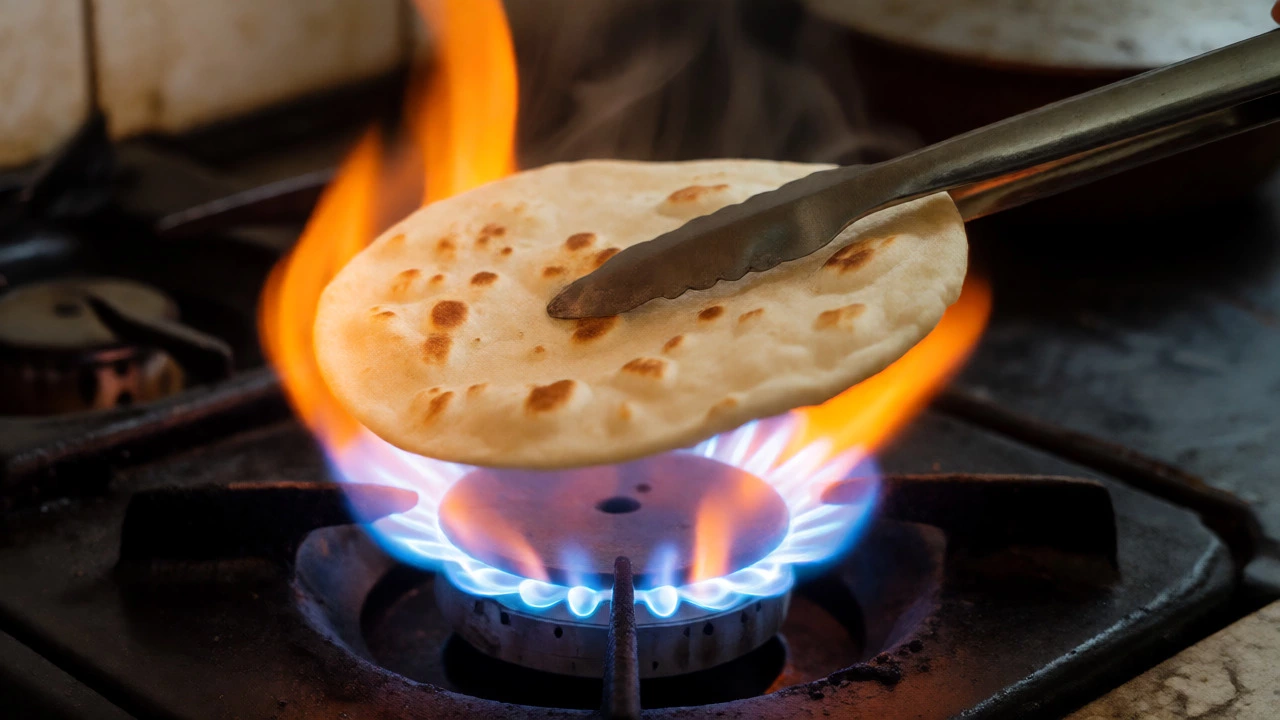
- Stage 3 (The Puff): Move the roti directly onto the open flame (gas stove) or hold it above the burner using tongs. This direct radiant heat hits the trapped steam, causing rapid expansion. Within seconds, it should balloon. If you don’t have a gas flame, flip it again on the tawa and press gently around the edges with a clean cloth to encourage expansion.
If you cook entirely on the tawa without moving it to the flame, you often get a "half-puff" or no puff. The tawa conducts heat from the bottom, but the top stays cooler. Direct flame heats from all sides, maximizing steam generation.
Sealing the Edges
Think of your roti as a pressure vessel. The edges are the weakest point. If the dough tears at the rim, the steam escapes. To prevent this, ensure your dough balls are perfectly round and smooth before rolling. When rolling, keep the center thicker than the edges. The edges naturally become thinner, which is fine, but they must remain intact. Avoid lifting the rolling pin too aggressively near the border, as this can cause micro-tears.
Troubleshooting Table
| Problem | Likely Cause | Solution |
|---|---|---|
| No puff at all | Dough too dry or old flour | Add more water; knead longer; check flour freshness |
| Puffs then collapses | Steam leak (cracks) or low heat | Roll gently; increase flame intensity; seal cracks with water |
| Burns before puffing | Flame too high or tawa too hot initially | Lower heat slightly; cook faster; move to flame sooner |
| Hard and chewy | Undercooked or over-kneaded without rest | Cook longer on flame; let dough rest 20 mins |
| Uneven puff | Uneven rolling thickness | Rotate dough while rolling; aim for uniform circle |
Freshness Matters: Flour Quality
Whole wheat flour goes rancid quickly because of the oils in the germ. Old flour loses its ability to form strong gluten networks. If your atta has been sitting in the pantry for six months, it might not behave the same way fresh flour does. Smell your flour. It should smell nutty and fresh. If it smells sharp or like crayons, throw it away. For best results, store flour in an airtight container in a cool, dark place, or even the fridge if you live in a humid climate like Brighton.
Practical Tips for Success
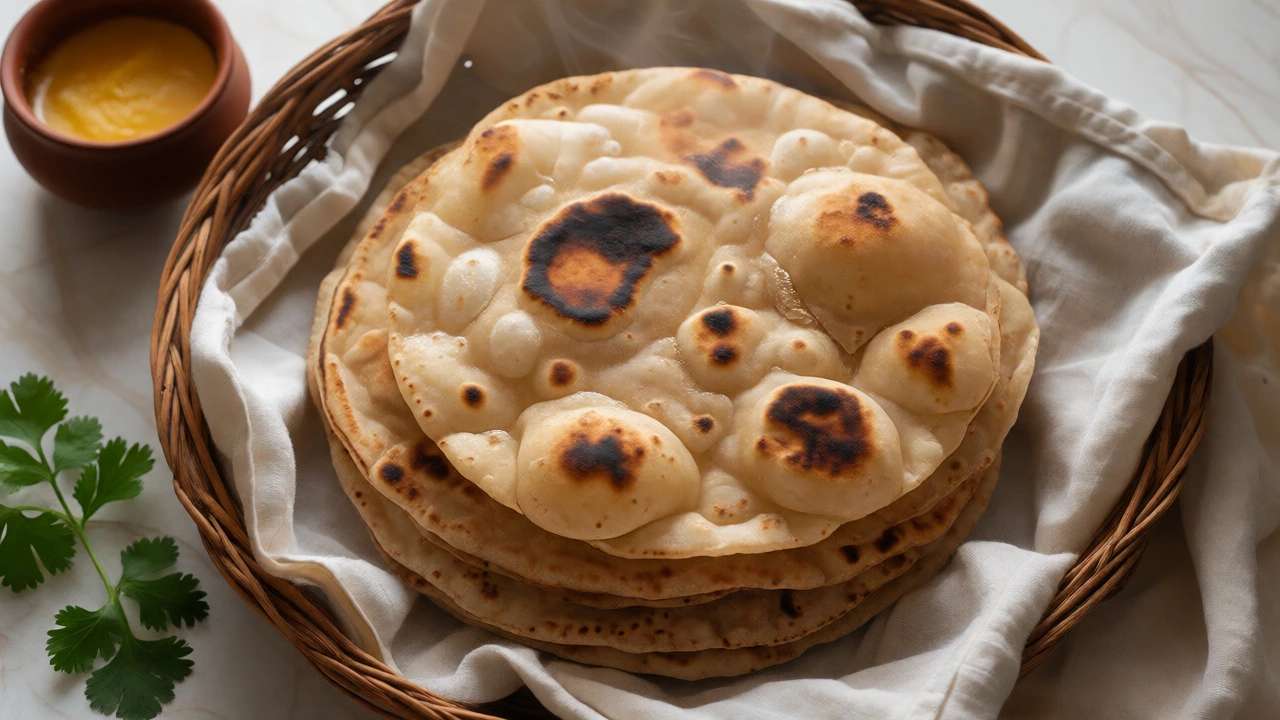
Don’t try to make ten rotis at once if you are new to this. Start with one. Master the single roti before scaling up. Keep a damp towel ready to cover cooked rotis. The residual steam keeps them soft and encourages any minor imperfections to relax.
Also, consider the type of pan. Cast iron retains heat well, which is great for consistent cooking. Non-stick pans are easier for beginners but may not get hot enough for that initial sear. Stainless steel requires careful heat management to avoid sticking.
If you are using an electric stove or induction cooktop, getting the "direct flame" effect is harder. In this case, use a wire rack placed over the burner. Place the partially cooked roti on the rack. The heat from below and the ambient heat from the element can mimic the open flame effect better than just flipping on a flat pan.
Conclusion
Getting a perfect puff is satisfying, but it’s not essential for taste. Even flat rotis are delicious. However, understanding the mechanics of heat, moisture, and gluten gives you control. Next time, focus on your dough’s hydration first. Make sure it’s soft. Preheat your tawa thoroughly. And don’t be afraid to bring that bread close to the fire. With a little practice, those stubborn flat discs will start ballooning into beautiful spheres.
Can I puff roti on an electric stove?
Yes, but it is trickier. Electric coils don't provide the intense, instant radiant heat of a gas flame. To improve your chances, preheat the coil thoroughly. After the initial cooking on the tawa, lift the roti and hold it directly over the glowing red coil for a few seconds, rotating constantly. Alternatively, use a metal grill rack placed over the heating element to allow heat to circulate around the bread.
Does adding baking powder help roti puff?
Traditional roti relies on steam for puffing, not chemical leaveners. Adding baking powder can create a softer, cake-like texture similar to naan, but it changes the authentic character of the bread. If you add it, you might get a puff, but it won't be the crisp, airy sphere associated with traditional phulka. Stick to proper kneading and heat for authentic results.
Why does my roti puff in the middle but not the edges?
This usually indicates uneven rolling. The center is thicker and holds more steam, while the edges are very thin and dry out quickly, losing elasticity. Ensure you rotate the dough frequently while rolling to maintain a uniform thickness across the entire surface. Also, pressing the edges gently with a cloth after the initial puff can help redistribute steam to the borders.
How long should I knead roti dough?
Knead for at least 5 to 8 minutes by hand. You are developing gluten, which provides the elasticity needed to trap steam. The dough should transform from rough and shaggy to smooth and cohesive. Under-kneaded dough lacks strength, leading to tears and poor puffing. Over-kneading is rare by hand but can make the dough tough if you skip the resting period.
Should I apply oil before puffing?
No. Apply ghee or butter *after* the roti has puffed and been removed from the heat. Oil applied before cooking can fry the surface, preventing the dry heat contact needed to set the crust properly. It can also weigh down the dough, making it harder for the steam to lift the layers. Wait until the bread is cooked and hot to brush on fat for flavor and softness.