Roti Softness Score Calculator
Enter your current roti-making habits to see how well you are preventing staleness (starch retrogradation).
Your Roti Score:
Detailed Analysis
You make a batch of fresh roti at breakfast. They are hot, pliable, and perfect. You wrap them in a cloth, toss them in a tiffin box, and head to work or school. When you open that box at lunchtime, your heart sinks. The rotis have turned into frisbees. They crack when you try to fold them, and they taste like cardboard. It’s frustrating because you know exactly how good they tasted two hours ago.
This isn’t just bad luck. It’s chemistry. Specifically, it’s about how starch behaves when it cools down and loses moisture. If you want your next-day rotis to stay as soft as the ones you made this morning, you need to understand three things: the dough composition, the cooking technique, and the storage method. Let’s break down why your rotis harden and how to stop it from happening.
The Science Behind Stale Rotis
At its core, a roti is a simple mixture of whole wheat flour (atta) and water. But what happens inside that dough changes dramatically over time. This process is called retrogradation. When you cook roti, the heat gelatinizes the starch granules in the flour. They swell up with water and become soft and flexible. As the roti cools down, these starch molecules start to realign and crystallize. They push out the water they absorbed during cooking. This expelled water migrates to the surface or evaporates, leaving the crumb structure dry and rigid.
Temperature plays a huge role here. Retrogradation happens fastest between 4°C and 60°C (around 39°F to 140°F). That’s exactly the temperature range most rotis sit in while cooling on a plate or sitting in a lunchbox. If you leave them out too long before storing, you’re speeding up the staling process. But if you store them while they’re still steaming hot, you create condensation, which makes them soggy first, then rubbery later. Finding the sweet spot is key.
Dough Hydration and Fat Content
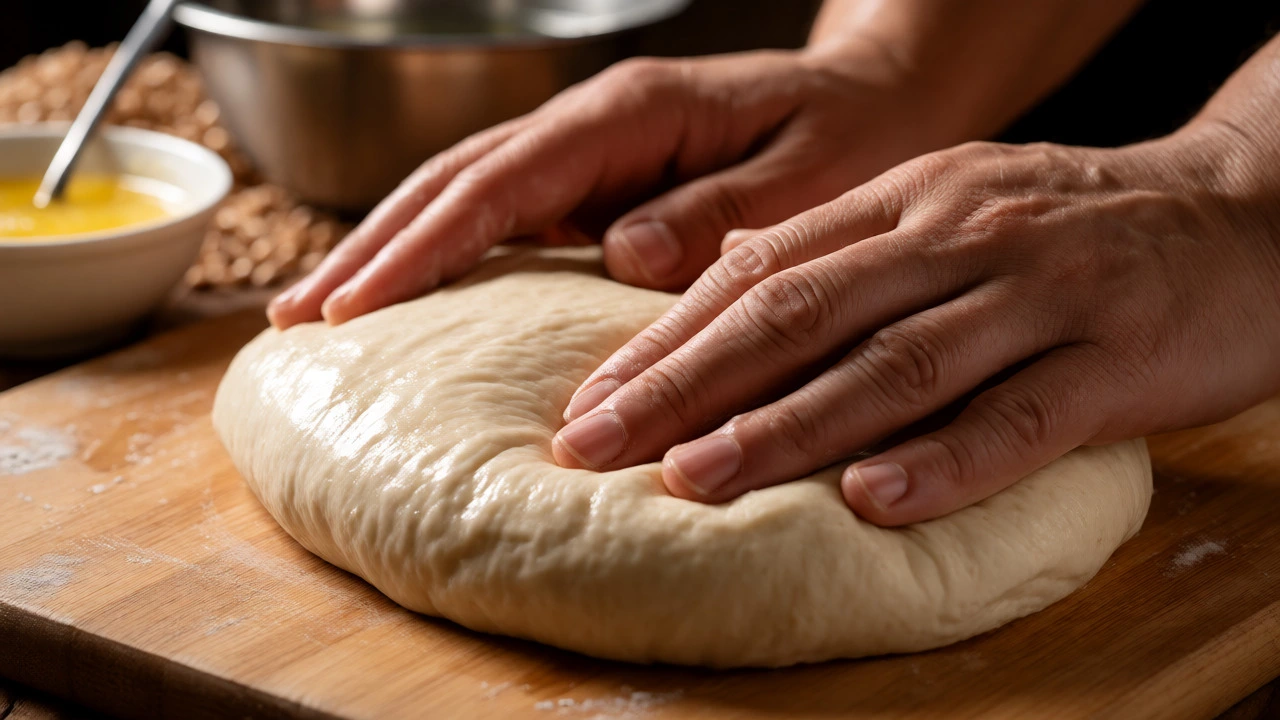
If your rotis are hard even right after cooking, or if they turn rock-hard within an hour, look at your dough. Many home cooks use too little water. A stiff dough produces a dense roti that lacks the internal steam pockets needed for fluffiness. Aim for a hydration level where the dough feels slightly tacky but doesn’t stick to your fingers excessively. For every cup of atta, you might need more water than you think-often closer to half a cup or more, depending on the flour’s absorption rate.
Fat is another critical factor. Traditional recipes often skip fat to keep things "healthy," but fat coats the gluten strands and starch granules, slowing down moisture loss. Adding a teaspoon of ghee, oil, or even butter to the dough acts as a humectant. It helps retain moisture within the roti matrix. Without fat, the gluten network becomes tight and brittle once it dries out. Try kneading in a small amount of warm milk instead of just water; the lactose and fats in milk also tenderize the crumb.
Cooking Technique Matters More Than You Think
You can have the perfect dough, but if you cook it wrong, you’ll end up with hard rotis. The goal is to cook the roti quickly enough to set the structure without drying it out completely. If you cook it slowly on low heat, you’re essentially dehydrating the bread. The longer it stays on the pan, the more moisture escapes.
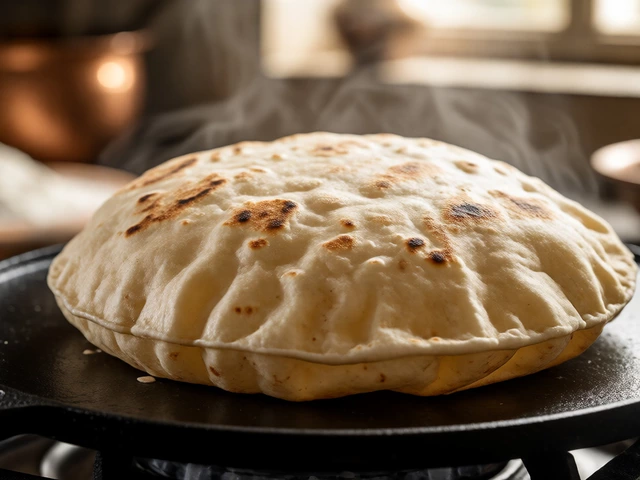
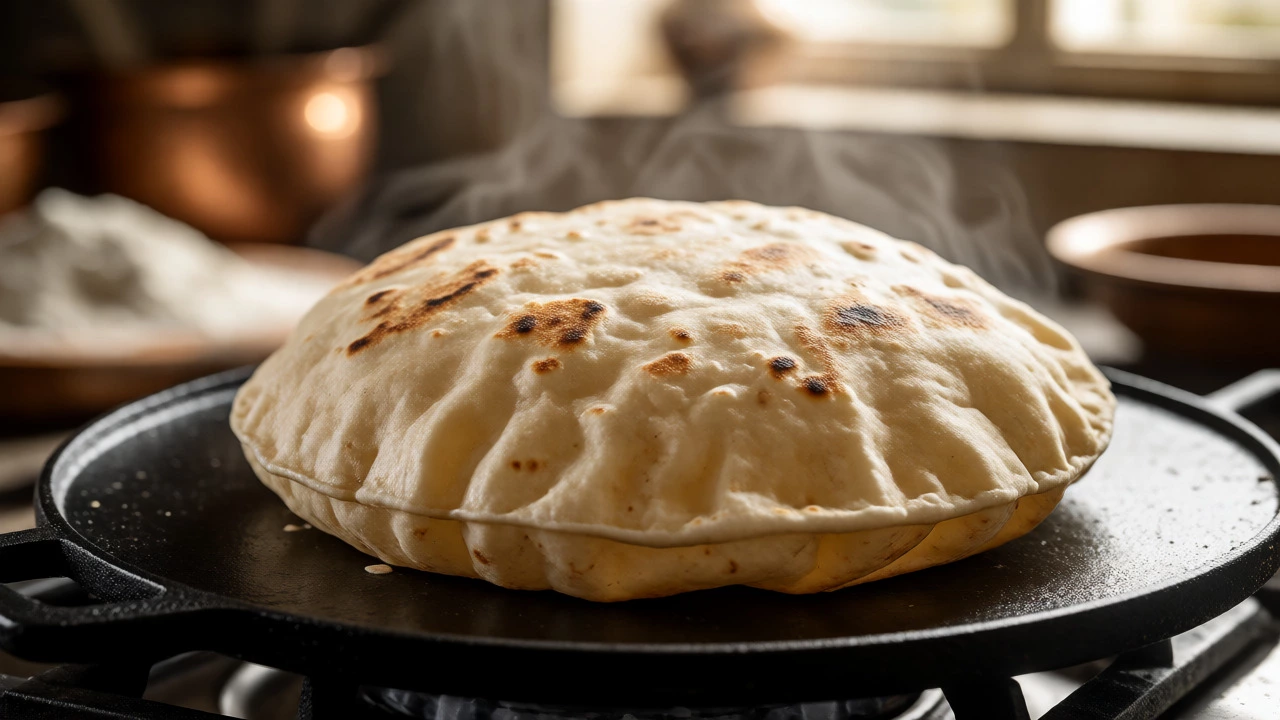
- High Heat is Essential: Your tawa (griddle) needs to be smoking hot. When you place the rolled-out roti on it, it should sizzle immediately. This rapid heating creates steam inside the dough, causing it to puff up. The puff indicates that the interior is cooked via steam rather than direct contact heat, preserving moisture.
- Avoid Over-Turning: Flip the roti only twice. Once to see bubbles form, and once to flip it onto the open flame or press it gently. Every time you flip it, you expose the moist interior to air and heat, accelerating drying.
- The Puff Test: If your roti doesn’t puff, it’s likely under-hydrated or the heat wasn’t high enough. A non-puffed roti has a denser structure that hardens faster.
Also, watch out for burnt spots. While some char adds flavor, excessive charring creates hard, carbonized patches that don’t soften easily, no matter how much steam you apply later.
Storage Mistakes That Ruin Freshness
This is where most people fail. How you handle the rotis after they come off the stove determines their fate. If you stack them directly on a cold steel plate, the bottom layer gets wet from condensation while the top layers dry out. If you put them in a plastic container while hot, they steam themselves into a mushy mess, then harden into a brick-like texture when cooled.
Here’s the best method for keeping rotis soft for hours:
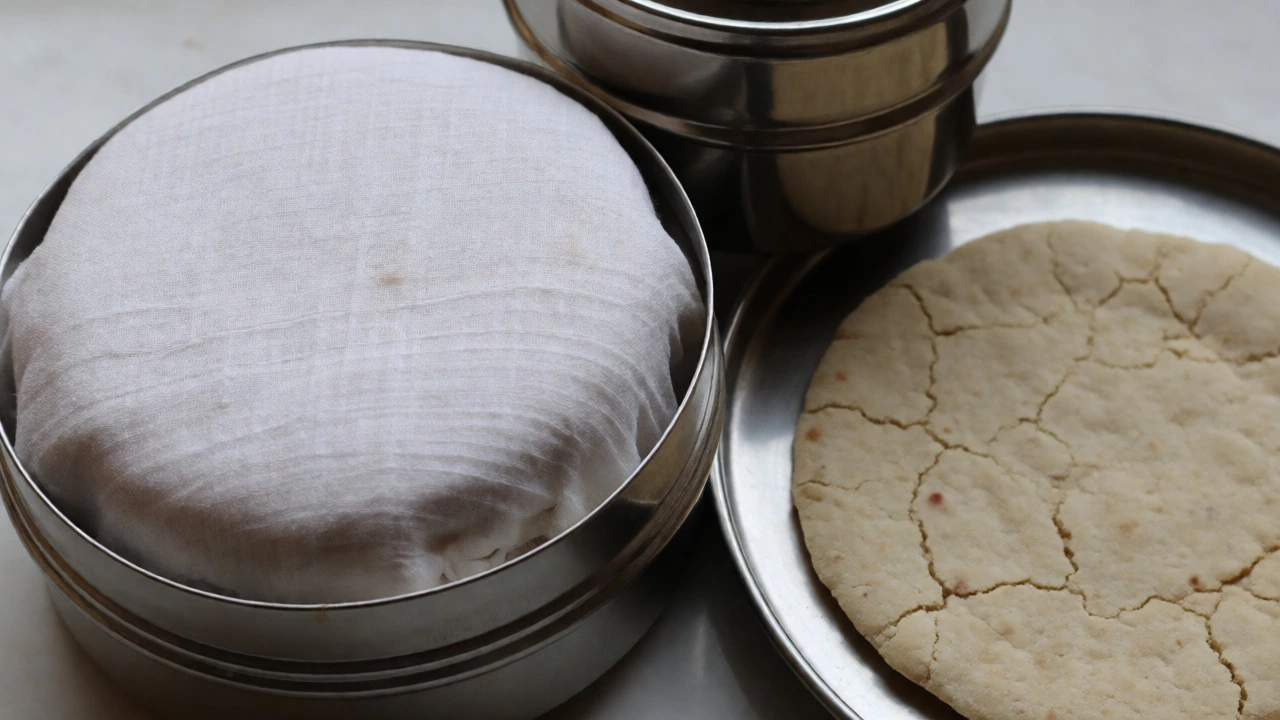
- The Cloth Wrap: Immediately after cooking, wrap the stack of rotis in a clean cotton cloth (like a muslin or thin kitchen towel). The cloth absorbs excess surface moisture without trapping steam like plastic does. It allows the rotis to cool evenly while retaining internal humidity.
- Insulated Containers: Use a thermos flask or an insulated lunch bag. These maintain a stable temperature, preventing the rapid cooling that triggers starch retrogradation. If you’re taking rotis to work, pack them in a foil-lined box wrapped in the cloth.
- Serve Hot: If possible, reheat them briefly on a dry tawa before eating. A 15-second flip on a hot pan revives the steam pockets and makes them pliable again.
| Method | Texture After 4 Hours | Best For |
|---|---|---|
| Plastic Container (Hot) | Soggy, then Rubberly | Short-term transport |
| Steel Plate (Uncovered) | Hard, Dry Edges | Eating immediately |
| Cotton Cloth + Insulated Box | Soft, Pliable | Lunchboxes, Tiffins |
| Aluminum Foil | Moist, Warm | Picnics, Short delays |
Reviving Hard Rotis
Even with perfect technique, sometimes rotis go stale. Don’t throw them away. You can reverse some of the staling process by reintroducing heat and moisture. The microwave is risky-it heats water molecules unevenly and can turn rotis chewy or tough if overdone. Instead, try these methods:
The Steam Method: Place a damp paper towel over the rotis and microwave for 10-15 seconds. Check them. If they’re not soft, add another 5 seconds. The steam loosens the starch crystals. Eat them immediately, as they will harden again once the steam dissipates.
The Pan Reheat: Sprinkle a few drops of water on the roti and place it on a hot tawa. Cover with a lid for 30 seconds. The trapped steam penetrates the roti, making it soft again. This works better than microwaving because it restores the texture rather than just warming it.
Repurpose Them: If the rotis are truly too hard to eat plain, cut them into strips and fry them to make khakhra or toast them for poha-style dishes. Sometimes, embracing the crunch is the best option.
Flour Quality and Age
Not all atta is created equal. Whole wheat flour contains oils in the germ part. These oils go rancid over time. Rancid flour doesn’t just taste bad; it affects the protein structure, leading to tougher rotis. If your flour has been sitting in the pantry for six months, it might be contributing to the hardness. Store your atta in an airtight container in a cool, dark place. For long-term storage, keep it in the refrigerator or freezer to preserve the oils and prevent insect infestation.
Also, consider the type of flour. Some commercial brands mix maida (refined flour) with atta to improve softness. Pure stone-ground atta can be harder to work with because the bran particles cut through the gluten network, making the roti less elastic. If you find pure atta difficult to manage, try mixing in 10-20% maida or adding vital wheat gluten to strengthen the dough’s elasticity.
Common Pitfalls to Avoid
- Kneading Too Little: Under-kneaded dough has uneven hydration. Some parts are dry, others wet. Knead until the dough is smooth and elastic. Rest the dough for at least 15-20 minutes before rolling. This allows the gluten to relax and the water to distribute evenly.
- Rolling Too Thin: If you roll the roti too thin, there’s no room for steam expansion. It cooks instantly and dries out. Aim for a thickness of about 2-3 mm.
- Ignoring Dough Temperature: Using ice-cold water can tighten the gluten too much. Use lukewarm water to knead the dough. It helps hydrate the flour more effectively and keeps the gluten relaxed.
Making soft rotis that stay soft isn’t magic. It’s about controlling moisture loss and managing starch behavior. By adjusting your dough hydration, using high heat, and storing them correctly in cloth-wrapped insulated containers, you can ensure your lunchtime roti is just as delicious as your breakfast one.
Why do my rotis get hard so quickly?
Rotis harden quickly due to starch retrogradation, where starch molecules recrystallize as the bread cools, pushing out moisture. This process is accelerated by low-fat doughs, insufficient water content, and slow cooking times that dehydrate the roti before the structure sets.
Does adding oil or ghee to the dough help keep rotis soft?
Yes, adding fat such as ghee, oil, or butter to the dough coats the starch and gluten proteins. This slows down moisture evaporation and inhibits the formation of hard starch crystals, resulting in a softer texture that lasts longer.
What is the best way to store rotis for lunch?
Wrap freshly cooked rotis in a clean cotton cloth to absorb excess steam, then place them in an insulated container or thermos. Avoid plastic containers for hot rotis as they trap steam, making them soggy and then rubbery. Cloth wrapping maintains optimal humidity levels.
Can I freeze rotis to keep them soft?
Yes, freezing is an excellent preservation method. Cool the rotis completely, stack them with parchment paper between each, and store in a freezer-safe zip-lock bag. To serve, reheat directly on a hot tawa or in a toaster oven. Freezing stops the retrogradation process effectively.
Why are my rotis chewy instead of soft?
Chewiness usually results from over-kneading the dough or using too much water without enough rest time. High-protein flours can also lead to chewier rotis if not balanced with adequate fat or resting periods. Ensure you rest the dough for at least 20 minutes to relax the gluten.