Dal Simmering Tricks: Secrets for Perfectly Tender Lentils Every Time
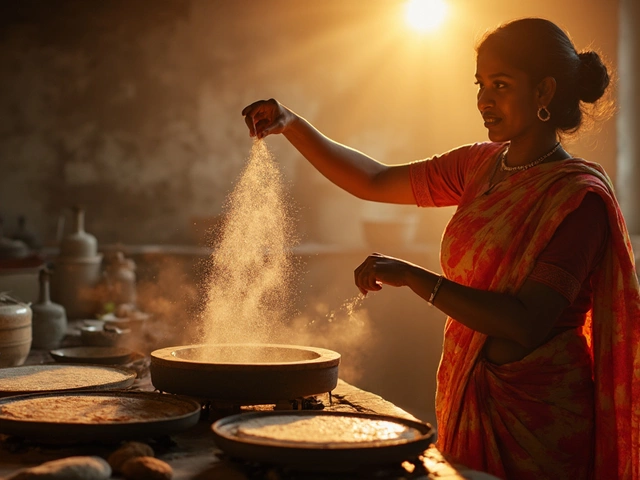
When you cook dal, a simple Indian lentil stew made from split pulses like masoor, toor, or moong. Also known as lentil curry, it's one of the most everyday dishes in Indian homes—simple, nourishing, and deeply comforting. But get the simmering wrong, and you end up with mushy beans or undercooked grit. Get it right, and you get dal that’s creamy on the inside, holding its shape, with every spice singing.
The secret isn’t in the spices—it’s in the simmering time, how long and at what heat you let the lentils cook slowly. Most people boil dal hard, thinking faster is better. But that’s how you break the lentils and lose flavor. Real dal needs low, steady heat—just a gentle bubble, not a rolling boil. It takes patience, but it’s the only way to unlock the natural starches that make dal thick and silky without needing flour or cream.
Another key? tempering, the process of frying whole spices like cumin, mustard seeds, and dried chilies in hot oil. Do it too early, and the spices burn. Do it too late, and they taste raw. The best trick is to wait until the dal is almost done—last five minutes—then pour the hot oil and spices right on top. The steam releases the oils, and the flavor sinks into the dal like magic.
And don’t forget water. Too much, and your dal is soup. Too little, and it’s dry. The sweet spot? Start with 2.5 cups of water for every cup of dal. Let it reduce naturally. Stir only once or twice—too much stirring breaks the lentils. And if you’re using a pressure cooker? Skip the high pressure. Use low pressure for 5 minutes, then let it sit for 10 minutes before opening. That’s how restaurants get their dal so smooth.
Some folks soak dal overnight. It helps, sure—but it’s not required. What matters more is rinsing it well. Leftover dust or debris makes dal bitter. Rinse until the water runs clear. Then, add a pinch of baking soda only if you’re using older lentils. It softens them without changing flavor. But don’t overdo it—one tiny pinch is enough.
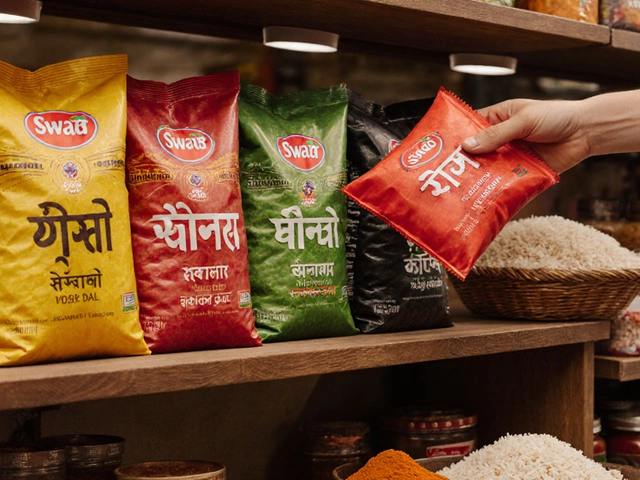
There’s also the question of dal variety, like yellow toor, red masoor, or green moong. Each behaves differently. Toor dal takes longer to cook, so it needs more time on low heat. Moong dal cooks fast and turns creamy quick. Masoor dal turns soft but can turn muddy if overcooked. Knowing which dal you’re using changes everything.
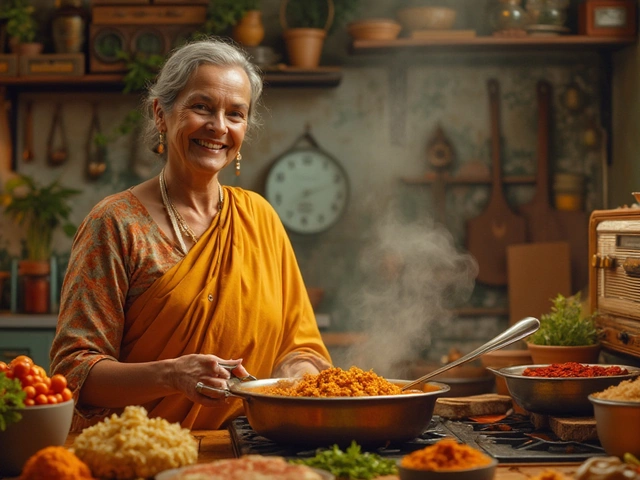
And yes, the tadka matters—but not because it’s fancy. That sizzle of garlic, curry leaves, and dried red chilies isn’t decoration. It’s the final layer that ties the whole dish together. Pour it on hot, right before serving. The aroma hits you before the first spoonful. That’s the moment dal stops being just food and becomes something you remember.
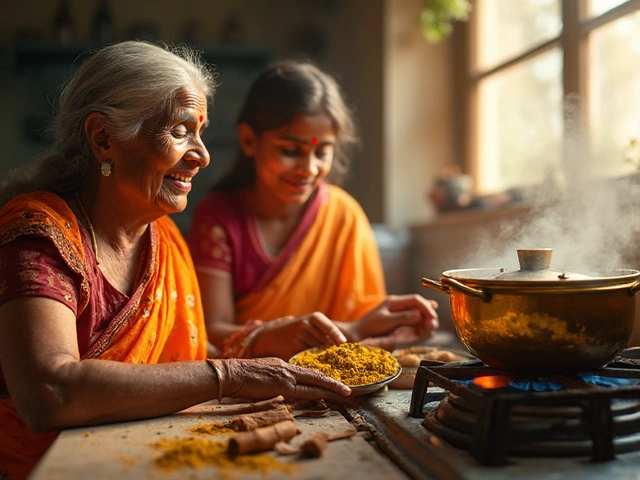
These aren’t tricks you’ll find in a textbook. They’re the quiet, passed-down methods from grandmothers who cooked dal every single day. No gadgets. No fancy tools. Just heat, time, and attention. If you’ve been struggling with bland, broken, or watery dal, this is your fix. Below, you’ll find real posts from home cooks who’ve cracked the code—each one showing exactly how they make their dal taste like it came from a kitchen that’s been doing this for generations.

Should You Cover Dal While Cooking? The Science Behind Perfect Dal Every Time
Uncover the truth behind covering dal during cooking. Learn the science, traditions, and get practical tips to make your dal tastier, creamier, and less messy every single time.
Read More